-
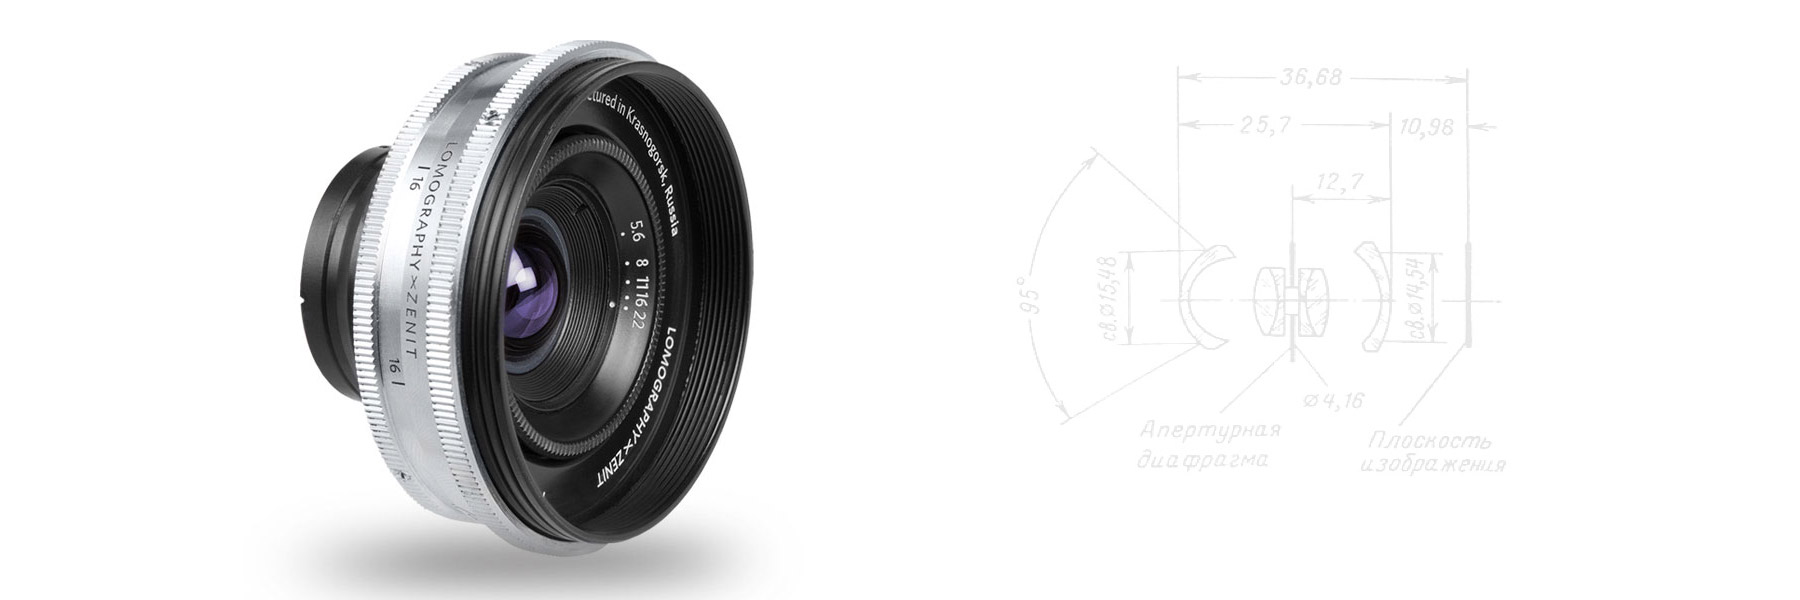
Technical Information
- Focal length: 20mm
- Aperture: f/5.6 - f/22
- Minimum image circle: 44mm
- Field of view: 94 degree
- Flange distance: 27.8mm (M mount) 28.8mm (L39 mount)
- M mount frame line triggering: 28mm frame line
- Closest focusing distance: 0.5m
- Filter thread requirement: 49mm
- Construction: Symmetrical construction, 6 elements in 4 groups, Brass made and chrome plated
New Russar+ Technical Information Downloads
-
Compatibility
The New Russar+ uses an L39 mount system and includes an M mount adaptor. The lens is also compatible with many digital mirrorless cameras using adaptor mounts which can be purchased separately. Some examples of camera mounts the New Russar+ is compatible with are the following:
-
System: Leica M
Mount: Leica M mount
Adaptor needed: No adaptor needed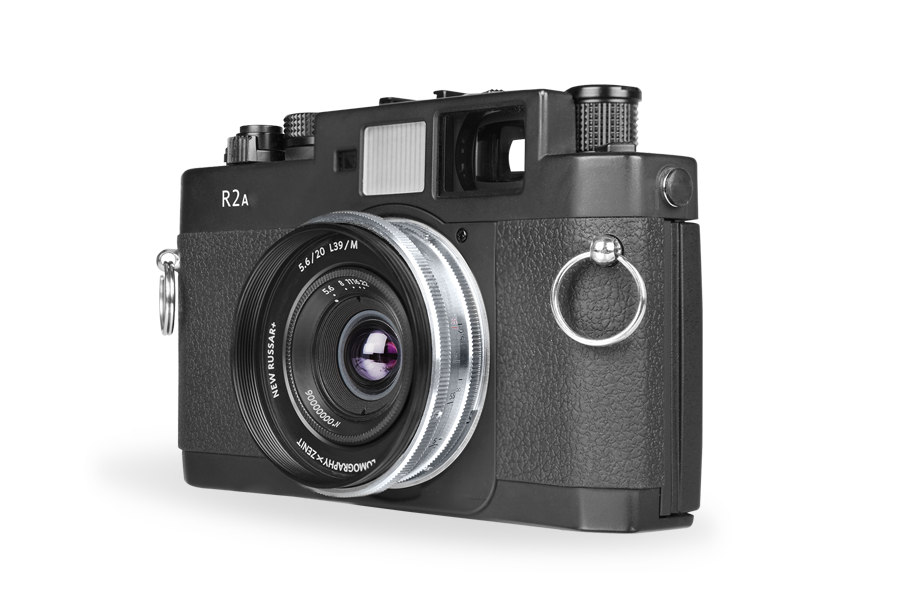


-
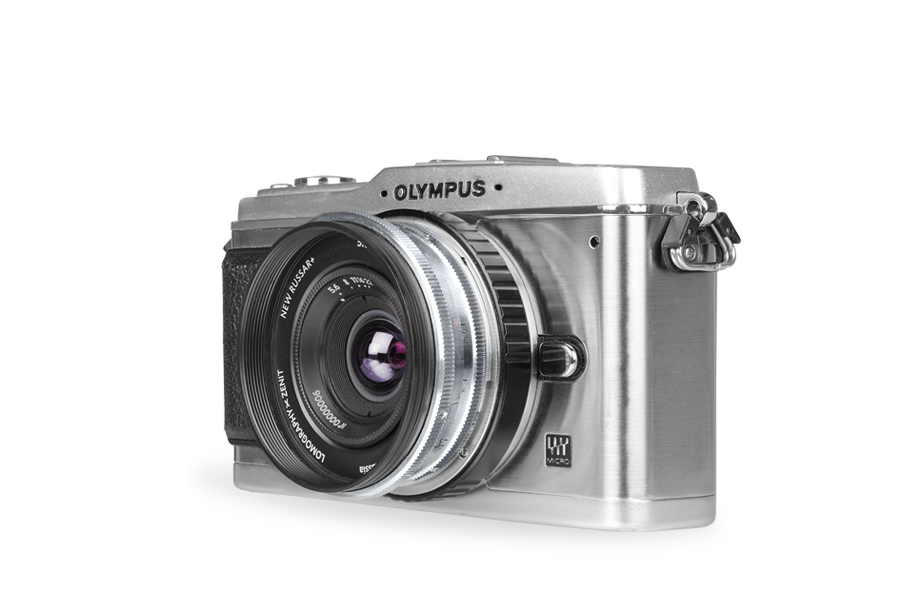
System: Micro Four Thirds
Mount: M 4/3
Adaptor needed: Leica M or L39 to 4/3 adaptor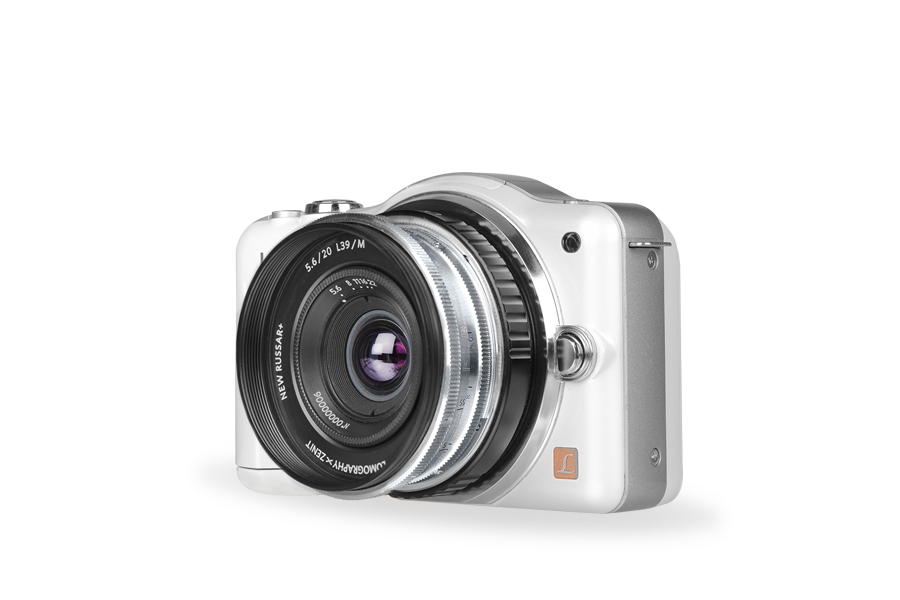
-
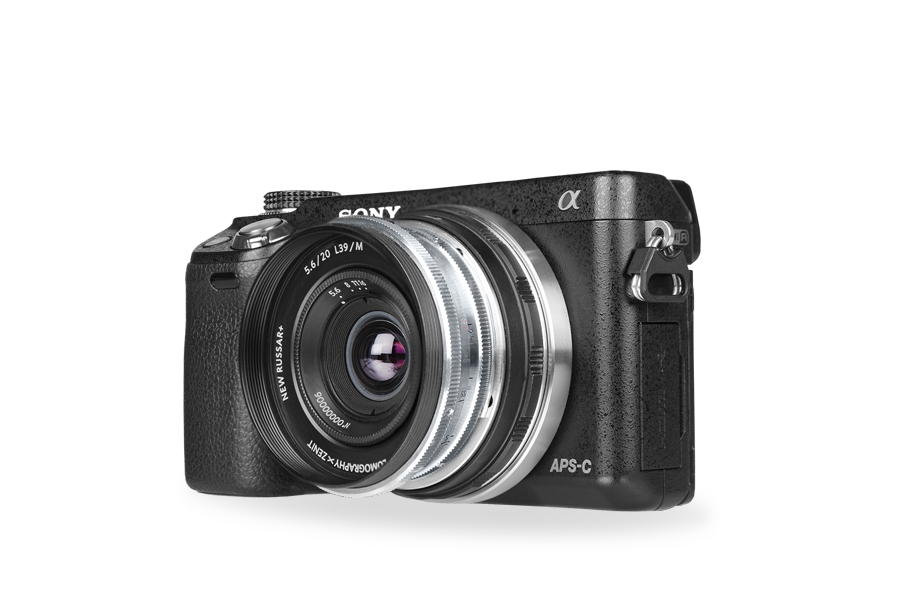
System: Sony NEX and Sony Alpha
Mount: Sony E mount
Adaptor needed: Leica M or L39 to E adaptor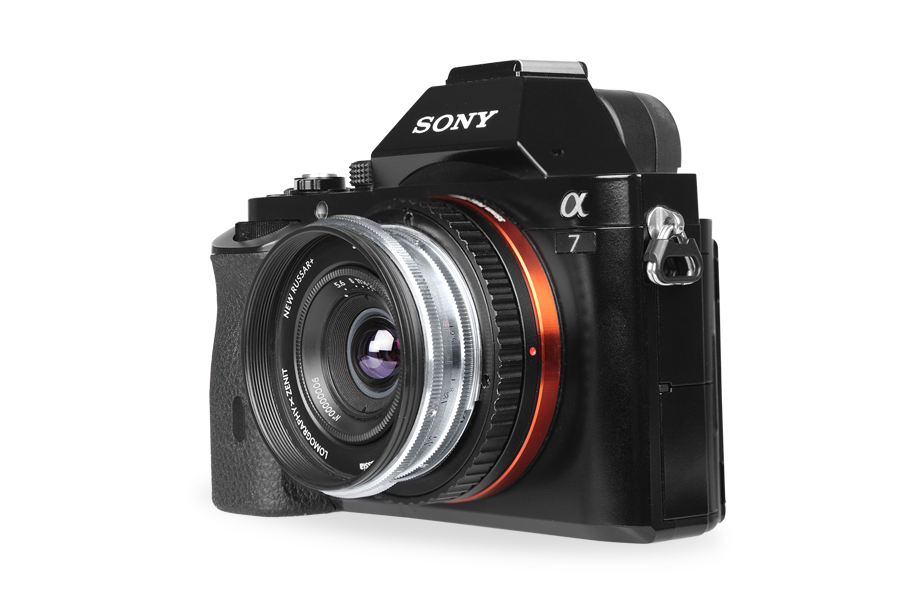
-
System: Fujifilm XF
Mount: Fujifilm X mount
Adaptor needed: Leica M or L39 adaptor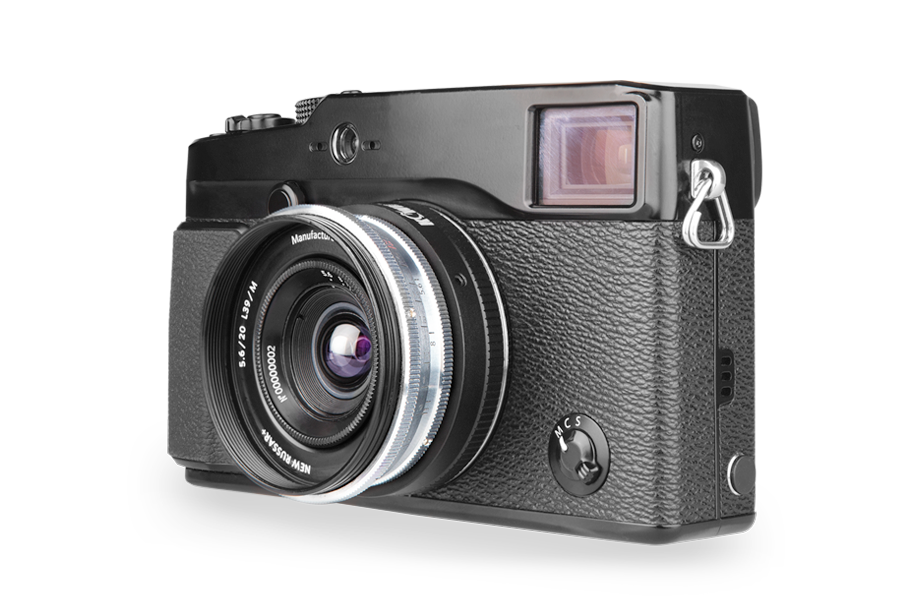
Crop Factor
Crop factor is the ratio of a digital camera’s sensor to a 35mm film camera. A full-frame digital SLR refers to a camera whose sensor size is roughly equivalent to a 35mm film frame (24mm x 36mm). A camera with a smaller sensor captures only a portion of the image that a full frame sensor would, due to the fact that the small sensor magnifies the angle of view.
If you multiply a lens's focal length by the camera's crop factor, you get the "equivalent focal length", which is the focal length needed to produce the same angle of view on a 35mm camera. You will get different photos depending on the camera you use and its sensor size.
Sensor sizes vary by manufacturer but in general there are four standard crop factors:
| Type of crop sensor | Cameras that use this crop sensor | Crop factor | Equivalent focal length with the Russar+ 20mm Lens |
|---|---|---|---|
| APS-H | Leica M8 | 1.3 | 26mm |
| APS-C or Nikon DX | Fujifilm X, Sony E, Ricoh GXR, Pentax K | 1.5 | 30mm |
| Micro 4/3 | Olympus PEN and Panasonic Lumix families | 2.0 | 40mm |
Rangefinder Coupling
The New Russar+ is an uncoupled lens; this is standard for most L39/M super-wide-angle lenses on the market. The lens being ‘uncoupled’ means that on analogue rangefinder cameras such as Leicas, Voigtländers, Zorkis and FEDs, you can’t use the rangefinder patch in the camera viewfinder to help you focus your photo. Therefore, to focus with the New Russar+ on this type of analogue rangefinder camera, you need to judge the distance you are to your subject and set your focus accordingly; for us Lomographers, this way of shooting photos comes naturally as it is very similar to the zone-focusing used on cameras such as the LOMO LC-A! Shooting with the New Russar+ and getting everything in focus is also straightforward since the lens has such as huge depth of field; so if you shoot using F/5.6 or F/8 (for example) and focus the lens to infinity, you still should have a sharp, focused photo. The fact that the New Russar+ is uncoupled doesn’t have any impact whatsoever if you are shooting using a compatible digital mirrorless camera.
Red Shift
When using wide angle lenses on digital cameras, red color can appear on the edge of photos. This is known as “red shift” or “red corner” and is a very common occurrence in only digital photography. It is not a defect or an optical issue. You will find the red shift effect a lot stronger when the photo background is in white/light color – it will not occur in black and white photos.
Why does red shift happen in digital photography?
Digital sensors record red/green/blue colors to generate dot pitch (the distance between dots of the same color on a display screen) instead of chemical layers like film. Because the wavelength of red light is longer, when an image is correctly focused on micro lenses on a digital sensor, red light is focused on the side of micro lenses and reflected in the dot pitch. The sensor then collects additional red information by reflecting it and the red area appears on the image. The exact effect depends on different sensors and cameras.
Please note:most labs will enhance color contrast and saturation when they develop digital images (to make the photos look more attractive), that is why the red shift effect looks stronger after printing.
How to get rid of Red Shift
For Sony camera users
Sony has an application for in-camera redshift correction for users who use old lenses. It is called Lens Compensation and is available here. In order to purchase it you create a Sony Entertainment Network account. Then you can either buy this app on your computer or directly on your camera in the “Applications”. If the app is not available in your country, you can buy a Sony Entertainment prepaid card on a new account and purchase it this way.
For Leica camera users
Leica also has its own coding system for in-camera redshift correction, called the 6-bit system. Although your Leica camera will only identify with one of its own lenses to process in-camera correction to eliminate redshift for individual lenses, you can manually code the Russar+ as a Leica 21mm Pre-ASPH (#11134).
Post production solutions
Cornerfix
CornerFix is a free to download application that corrects effects such as red shift in digital images. The application works with Mac or PC and works with DNG (digital negative) formats. See how to convert to DNG files here. Then the process of correcting your images can be done in 3 steps:
- Take a picture of a white wall using your camera and the Russar+ lens.
- Upload this picture to CornerFix to create a lens profile.
- Use this lens profile to correct any images taken with this same camera and Russar+ lens combination.
CornerFix will work with Leica M8, M9, X1 and S2 cameras. Plus converted images from the Sony NEX series, Sigma DP series as well as all known DSLRs from Nikon, Canon, Sony cameras. Download CornerFix here →
Photoshop
You can correct redshift in Photoshop after shooting. In the Color tab of the Lens Correction panel, select the Remove Chromatic Aberration checkbox.